Why Your Footage Is Shaky: Camera Stabilization Tips
This article is about Stabilization. "The best gear is useless if your footage looks like a shaky earthquake survived a hurricane."
If you want to stop filming shaky, nauseating clips and start producing cinematic content, you need to master the synergy between stabilization hardware and intentional movement. This guide covers everything from physical stabilization to digital smoothing to help you master the art of the vlog.
* Master the "Ninja Walk" to minimize vertical shake. * Understand the difference between optical and electronic stabilization. * Match your gimbal or tripod to your specific shooting environment. * Learn how to use post-production to fix what the hardware couldn't.
Why does my footage look so shaky?
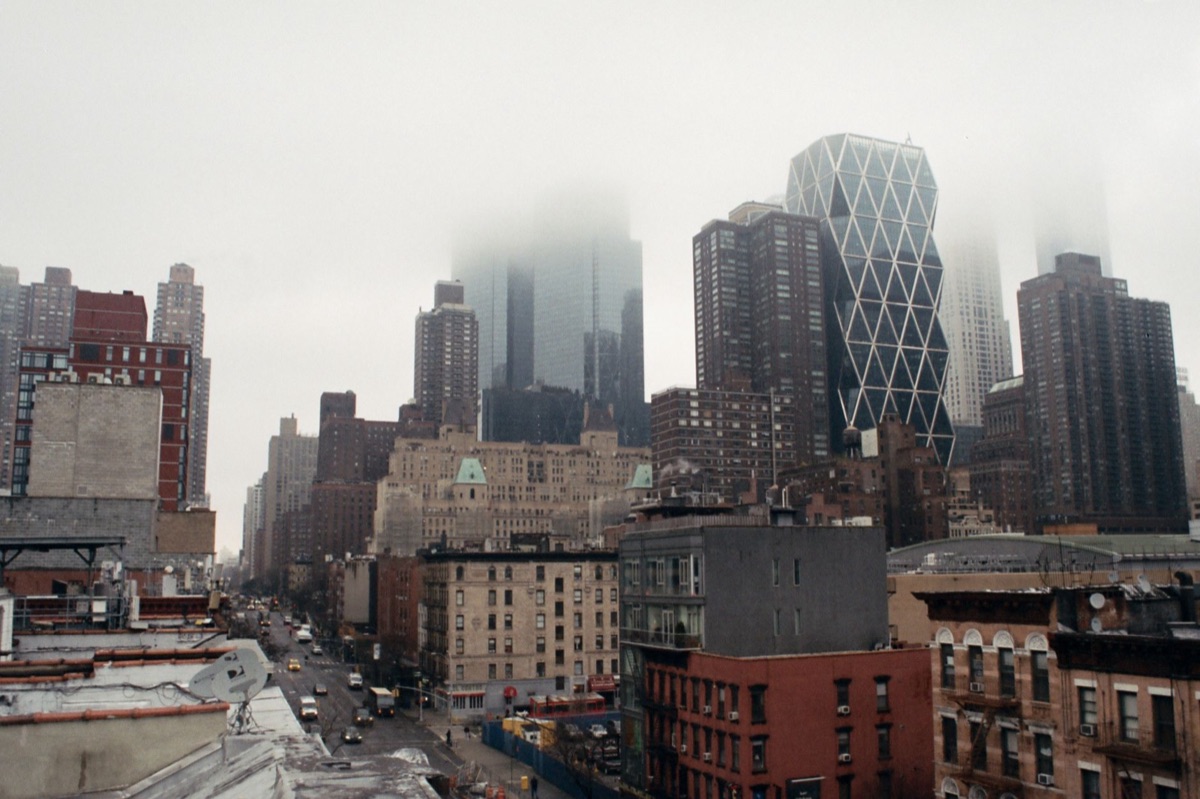
I stood on a busy corner in Midtown Manhattan last Tuesday, holding my camera at arm's length, feeling the vibration of every passing subway grate through my sneakers. Despite using a high-end mirrorless setup, the footage looked amateur and jittery.
The primary reason for shaky footage is the lack of a controlled axis of movement. When you walk or move your arms, you introduce micro-jitters that even the best software struggles to clean up without distorting the image.
To achieve professional results, you must address both the physical movement of your body and the mechanical limitations of your camera.
How do I master the Ninja Walk for stable movement? As the cold rain soaked through my jacket, I crouched low on the slick street to steady my breathing and balance my weight.
A heavy rainstorm hit the streets of Seattle during one of my recent shoots, forcing me to navigate slippery sidewalks while trying to keep my handheld camera steady. I realized then that no amount of electronic stabilization could fix the violent vertical bounce of my footsteps.
To counteract the natural "bobbing" motion of human walking, you should implement the "Ninja Walk." This technique involves keeping your knees slightly bent and rolling your feet from heel to toe to absorb the impact of each step.
- Bend your knees: Keep your center of gravity low to act as a natural shock absorber. 2. Heel-to-toe roll: Do not land on your midfoot; roll through the foot to distribute weight. 3. Core engagement: Keep your torso stable to prevent the camera from swaying side-to-side. 4. The "T-Rex" arm position: Keep your elbows tucked close to your ribs rather than extending them fully.
| Movement Type | Best Hardware Solution | Best Software Solution |
|---|---|---|
| Walking/Running | Action Cam or Gimbal | Motion Compensation (Warp Stabilizer) |
| Panning/Tilting | Tripod or Fluid Head | Keyframe Stabilization |
| Handheld Vlogging | Small Mirrorless with IBIS | Digital Crop Stabilization |
Which stabilization should I choose: IBIS, OIS, or EIS? I sat in a quiet cafe in Brooklyn, looking at two different cameras: one with a massive lens and one with a tiny sensor. I wondered how a photographer could ever get smooth shots while moving through a crowded market with such different gear.
Understanding how your camera stabilizes an image is crucial for your vlog camera settings. There are three main types of stabilization:
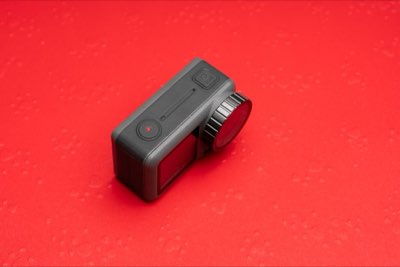
* In-Body Image Stabilization (IBIS): The sensor itself moves to compensate for shake. This is excellent for mirrorless cameras used in various lighting. * Optical Image Stabilization (OIS): The lens elements move to stabilize the image. This is common in zoom lenses and compact cameras. * Electronic Image Stabilization (EIS): The camera uses a digital crop to smooth out movement. This is the standard for action cams and smartphones.
When you are switching between a heavy lens and a small body, you need to know if your stabilizer is in the glass or in the sensor. For high-action vlogging, a combination of IBIS and OIS is the gold standard.

Mastering gimbal and tripod setups
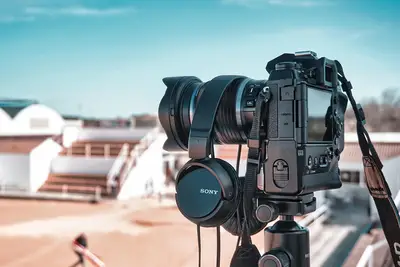
I remember setting up a heavy tripod on a windy pier in San Francisco, watching the legs tremble under the gusts. It was a reminder that "stable" is relative to your environment.
Choosing the right tool depends entirely on your setting. A gimbal is perfect for smooth, cinematic tracking shots, while a tripod is essential for static, high-quality shots.
- Gimbals for motion: Use a 3-axis gimbal for walking shots or following subjects. 2. Tripods for stability: Use a sturdy tripod for talking-head segments or time-lapses. 3. Monopods for mobility: Use a monopod when you need height but need to move quickly through crowds. 4. GorillaPods for versatility: Use flexible tripods to wrap around poles or branches for unique angles.
How to optimize your vlog camera settings
The sun was setting over the desert, casting long shadows that made my autofocus hunt wildly. I had to quickly adjust my settings to ensure the focus stayed on my face while the background remained smooth.
To get the best results, your video shooting tips should include specific settings to prevent the "jittery" look often caused by high shutter speeds or low-light grain.
* The 180-degree shutter rule: To maintain natural motion blur (which helps hide small shakes), set your shutter speed to double your frame rate (e.g., 1/50 for 25fps). * Frame rate selection: Use higher frame rates (like 60fps) if you plan to slow the footage down in post-production to create a "smooth" slow-motion look. * Focus settings: Use continuous autofocus (AF-C) with eye-tracking enabled to ensure you stay sharp while moving. * Resolution vs. Stabilization: Remember that digital stabilization (EIS) will crop your image. If you need a wide shot, use physical stabilization instead.

When hardware isn't enough: Post-production smoothing
I spent an entire evening in a dimly lit studio, staring at a sequence of footage that looked like it was filmed during an earthquake. No matter how much I moved, the digital crop was making my subjects look like they were "warping."
Sometimes, you will capture footage that is too shaky to be saved by a gimbal. In these cases, you must turn to post-production software.
* Warp Stabilizer: Use this in professional editing software to smooth out remaining jitters. * Adding Motion Blur: If the footage looks too "staccato," adding a slight artificial motion blur can help the eye perceive it as smoother. * Cropping in post: Always shoot slightly wider than you think you need. This gives the software "room" to crop into the image during stabilization without losing too much quality.
This type of heavy digital processing is not a substitute for good technique; it is a way to fix mistakes.
When I tried the steps in order, the second one is where I paused longest.
However, this does not apply in every situation.
Related

Comments 0