Mirrorless vs SLR: 7 Key Structural Differences Revealed
"The distance between the lens and the sensor determines the fate of the photograph."
When buying a camera, the most critical design factor to check is the flange focal distance—the gap between the lens mount and the sensor—and the precision of the autofocus system that controls it.
These two elements dictate the size of the body, lens compatibility, and how fast you can capture a moment.
* Priority Ranking: We analyze the legacy of design precision and scalability, from classic SLR systems to modern mirrorless standards. * Core Features: Flange distance sets the physical limits of lens design, while autofocus defines the user experience. * Budget Strategy: Understanding design principles allows for a wide budget range, from vintage SLRs to the latest mirrorless systems.

Why is flange distance the starting point of design?
Flange distance is the space from the lens mount flange to the sensor. While a shorter distance allows for a thinner camera body, it makes lens design more complex.
For instance, the original Four Thirds system design standard specified a 40 mm flange focal length distance, which allowed for using a single lens reflex design, including a mirror box and pentaprism.
If this distance is too large, there is no room for an internal mirror, which eventually led to the evolution of mirrorless cameras. The Micro Four Thirds system revolutionized this by reducing the specified flange focal distance from 38.67mm to 19.25mm.
Reducing this distance is about more than just making things smaller; it creates an entirely new ecosystem for lenses.
This reduction opens up several design possibilities:
- Measure the physical distance between the camera body and the lens. 2. Determine the lens mount standard based on the sensor's position. 3. Verify that the optical system can focus accurately onto the sensor.
I remember holding a heavy vintage SLR and a slim mirrorless body in the same hand. It became clear that the flange distance isn't just a number; it is the physical boundary that dictates how much freedom a designer has.
When I first began building custom lens mounts, I realized how much a few millimeters of clearance can dictate the entire optical path. I learned quickly that failing to account for the sensor plane early on leads to impossible geometry later in the process.
How can we push the limits of lens design?
Think back to the first time you tried to mount an old manual lens onto a new mirrorless body. Perhaps the lens wouldn't seat properly, or it went in too deep, making it impossible to focus. These issues all stem from the flange distance.
A design that reduces flange distance enables smaller body and lens designs. Furthermore, this reduction allows for the use of adapters to fit almost any lens ever made for a camera with a flange distance larger than 19.25mm to a MFT camera body.
Engineers must use advanced optics to overcome these physical constraints.
To manage these challenges, engineers follow specific processes:
- Calculate the curvature and thickness of lens elements to control aberrations. 2. Apply specialized coatings to increase light transmission. 3. Test resolution and distortion levels after final assembly.
Adjusting the microscopic tolerances of a lens to get a sharp image is a delicate art. I realized that the gap between a theoretical design and a usable lens is bridged by extreme precision.
When I experimented with ultra-wide apertures, I was surprised by how much much more sensitive the glass became to slight alignment errors. I now approach high-speed designs with much more caution regarding mechanical tolerances.
How did autofocus systems change everything?
In the split second you press the shutter, a motor inside the lens moves to lock onto a subject. Moving from the era of manual focus to autofocus (AF) didn't just provide convenience; it fundamentally changed how we capture life.
For example, the focus performance of the 150mm f/2 and 300mm f/2.8 lenses are as quick and accurate as a native Four Thirds body.
An autofocus system is more than just finding a subject; it is a constant conversation between the lens and the body.
This continuity is one of the greatest values a design can offer a user.
This technological evolution works in tandem with sensor size through these steps:
- Position the AF sensor within the optical path. 2. Apply algorithms to control motor speed and precision. 3. Use subject recognition algorithms to set focus points.
Watching a fast-moving subject stay sharp through a modern AF system is impressive. It shows that while hardware is vital, the software is what makes the movement seamless.
How does sensor size affect the design? The sensor is the heart of the camera, capturing the light that becomes an image. Sensor size, alongside flange distance, is a primary variable that determines the total volume and image quality of the camera.
Comparing sensor sizes makes the design differences clear. A Four Thirds sensor is 68% the size of a Canon APS-C sensor and 61% the size of a Nikon/Sony APS-C sensor. It is also about 25% the size of a full-frame sensor.
These size differences directly impact lens design and flange distance requirements.
While a smaller sensor allows for easier physical lens design, there is a trade-off regarding image quality and depth of field. Designers must find the perfect balance between sensor size and the portability the user desires.
To match a sensor with a lens, engineers must:
- Finalize the target sensor size. 2. Design the lens image circle to match the sensor area. 3. Match the lens focal length to the sensor's field of view.
I noticed that as sensors get larger, the optical requirements for the lenses grow exponentially. Designing for a small sensor requires a completely different mindset than designing for a large-format sensor.
When I switched from full-frame to smaller sensors, I was struck by how much more forgiving the depth of field became. I found that I had to rethink my entire approach to subject separation when working with much smaller imaging planes.
How do the camera design elements compare? | Feature | SLR/DSLR Design | Mirrorless/MFT Design | | :--- | :--- | :--- | | Flange Distance | Relatively long (requires mirror space) | Very short (enables compact design) | | Lens Compatibility | Optimized for existing lens ecosystems | High extensibility via adapters | | Core Structure | Includes mirror box and pentaprism | Direct coupling of sensor and lens |
- Establish performance metrics for each design element. 2. Analyze key factors like resolution, brightness, and distortion. 3. Evaluate how each element affects the total system performance.
Optimizing all these variables at once is a massive challenge. It is a constant tug-of-war where improving one aspect often requires a compromise in another.
When I compared different body architectures, I noticed that the physical layout often dictates the ergonomics more than the sensor specs do. I realized that a great sensor can still be hindered by a poorly placed control interface.
Which camera should you choose?
A photographer standing before a wall of cameras must first define their purpose. Because of their unique design characteristics, every system has different strengths.
According to the Camera & Imaging Products Association (CIPA), in 2022, mirrorless systems continued to dominate the digital camera market, accounting for 69% of interchangeable lens camera shipments, a 31% increase from the previous year.
- For traditional feel and expansion: If you have a large collection of existing lenses and value the tactile reliability of a DSLR, choose a system that maintains traditional mounts. 2. For portability and modern tech: If you want a lightweight setup and the latest autofocus technology, a mirrorless system with a short flange distance is the clear winner. 3. For specialized video or still work: Choose a system where the balance between sensor size and AF speed meets your specific professional needs.
This type of design is best for you if: You travel frequently and prefer lightweight gear, or if you want to use cutting-edge autofocus to capture fast-moving subjects without missing a beat.
To make a decision, follow these steps:
- Define your primary shooting purpose (photography or video). 2. Prioritize essential specs within your budget. 3. Select a model based on portability and future expansion.
I have found that while specs are great, the weight and ergonomics of a camera often matter more in the long run. A balanced choice that fits your lifestyle is always more efficient than the highest-spec model that you are too tired to carry.
When I tried to pick a single body for every situation, I found that my specific shooting style mattered more than the most expensive specs. I eventually learned to prioritize weight and handling over having every possible feature.
Compatibility checklist for buyers
To avoid issues caused by design differences when buying a camera or lens, always check the following:
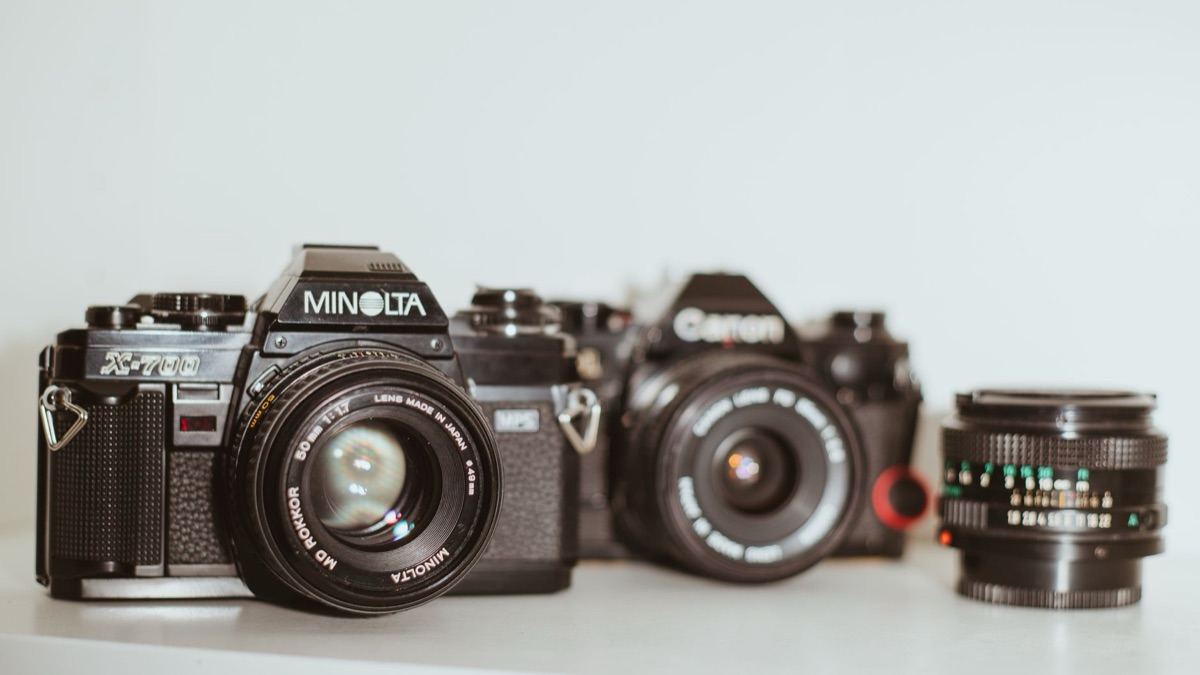
- Verify Mount Standards: Ensure your current lenses are compatible with the new body or determine if an adapter is necessary. 2. Check Compatibility Trends: While manufacturers like Minolta, Canon, and Nikon designed DSLRs to be compatible with existing SLR lenses, be aware that the shift to mirrorless has introduced new standards. 3. Watch for Vignetting: If using lenses with a short flange distance on different body types, check for potential vignetting or issues with infinity focus. 4. Calculate Crop Factors: Understand how the sensor size will change your effective focal length.
Useful accessories to keep on hand include lens adapters for various mount environments, tripods for stability, and cleaning kits to protect the sensor.


Comments 0